4244665880


Making your own glass pipe isn't just a fun project; it’s a chance to create something that’s perfectly suited to your tastes. Whether you’re a seasoned craftsman or a curious novice ready to explore the art of glassblowing, this guide will walk you through how to make a basic glass pipe, while ensuring safety and creativity along the way.
Customization: Tailor your smoking pipe to your personal style by choosing your own designs and colors.
Essential Tools: You’ll need some basic glass blowing equipment like a torch, kiln, and safety gear.
Patience is Key: Glassblowing is an art that requires patience and practice, but it’s rewarding to create something unique.
Before you start, it's good to know the parts of your pipe:
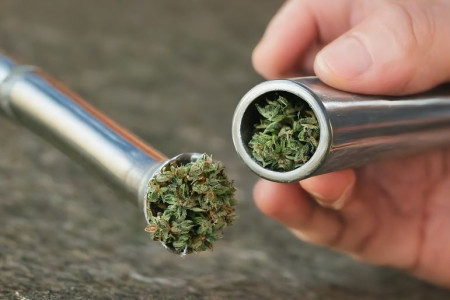
Bowl: The area where the tobacco or herb is placed.
Stem: This is the body of the pipe that connects the bowl to the mouthpiece.
Mouthpiece: The part you’ll draw smoke from.
Borosilicate Glass: This is your main material, known for its strength and resistance to thermal shock.
Color Rods: Optional, for those who want to add a splash of color to their design.
Glass Blowing Torch: For heating and molding the glass.
Kiln: Crucial for properly annealing the glass to ensure durability.
Tweezers, Tongs, and Graphite Paddles: For shaping the glass.
Didymium Glasses: Protective eyewear to guard against the bright glare of the torch.
Blow Hose and Mouthpiece Assembly: Helps in inflating the glass while it’s being heated.
Safety first! Make sure your workspace is ventilated and free from any flammable materials. Organize all your tools and materials for easy access.
Take a piece of borosilicate tubing and gently heat it in the torch flame, rotating it constantly to ensure even heating and prevent it from cracking.
Once the glass is soft, use tweezers to pinch one end to create a small bowl. Flatten the bottom with a graphite paddle so your pipe will stand upright.
Attach the blow hose to the other end and start heating the middle section of the tubing. Blow into the hose intermittently as you rotate the glass, expanding it into the shape of the stem.
Heat the tip of the stem and mold it into your desired mouthpiece shape. You can make it wide or narrow based on what feels comfortable.
If you’re using color rods, now’s the time to apply them. Melt them onto the pipe wherever you want, creating stripes, spots, or any pattern you like.
Place your finished pipe in the kiln to anneal. This process slowly cools the glass, removing any stresses and solidifying its shape. This can take a few hours, so be patient.
Wear didymium glasses at all times to protect your eyes from infrared and UV rays.
Consider heat-resistant gloves for handling hot glass and tools.
Always have a fire extinguisher nearby as a precaution.
Check out also: How To Turn Bud Into Wax: A Beginner’s Guide!
Crafting a glass pipe is an artistic endeavor that lets you express your creativity while making something useful and personal. Remember that glassblowing is a skill that improves with practice, so don’t get discouraged if your first try isn’t perfect. With each attempt, you’ll grow more proficient and soon, you'll be making pipes like a pro. Enjoy the process and smoke safely!