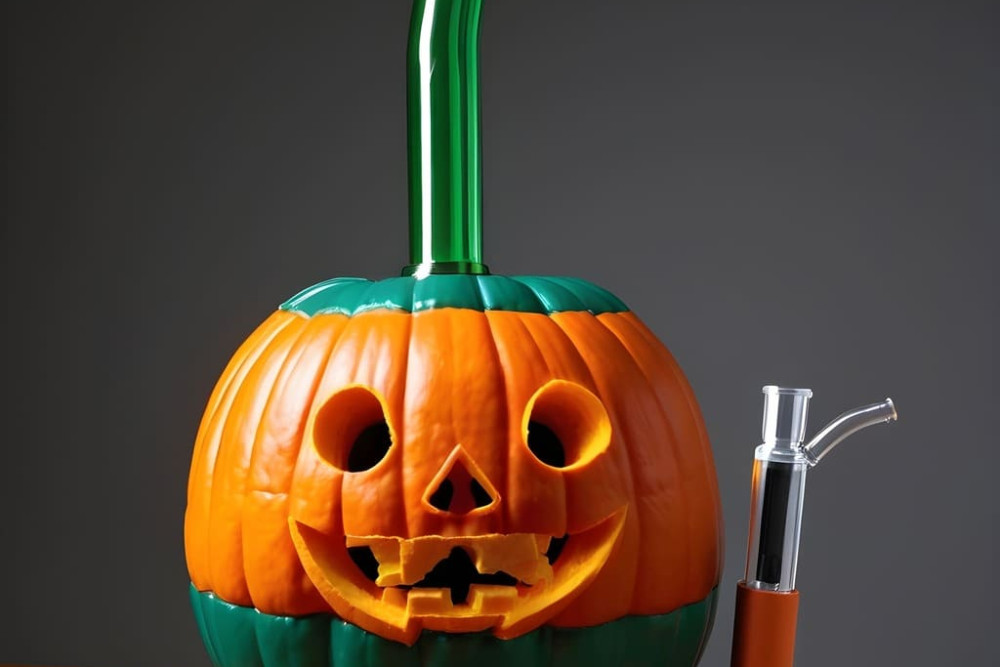
Autumn is the perfect season for pumpkin everything—why not a pumpkin bong? Whether you’re gearing up for Halloween festivities or just want to add some seasonal flair to your smoke sessions, making a pumpkin bong is a creative and fun project.
Let's walk through how to transform a humble pumpkin into a fully functional bong, step by step.
Choose a Fresh Pumpkin: Freshness is key for durability and taste.
Ensure a Tight Seal: Keeping everything airtight is crucial for the bong's functionality.
Clean Regularly: Keep it fresh; remember, it's still a pumpkin.
Personalize Your Pumpkin: Have fun decorating to make it uniquely yours.
Before you start, gather these items to ensure a smooth crafting session:
A medium-sized pumpkin
Carving knife
Spoon or scoop
Marker (optional for marking cuts)
Downstem and bowl from an existing bong or purchased from a smoke shop
Drill or skewer for making holes
Rubber grommets to seal connections
Water
Find the premium cannabis products at Marketweed shop!
Select the Perfect Pumpkin: Look for one that sits flat and feels sturdy.
Carve and Clean: Cut off the top and scoop out all the seeds and guts. A cleaner pumpkin means easier maintenance and better airflow.
Decide on Placement: Mark where you want the bowl to go. A good spot is usually a few inches from the top, on the front of the pumpkin.
Drill the Hole: Carefully make a hole at your mark just big enough for the downstem to fit snugly.
Choose Your Spot: You can use the natural opening at the top or create a new hole on the side, depending on how you want to use the bong.
Create the Mouthpiece: Make a hole that’s comfortable to draw from, ensuring it’s well-placed for when you take a hit.
Location is Key: Place the carb where your thumb can naturally reach it while holding the bong.
Make the Carb Hole: A smaller hole opposite the bowl works well; just ensure it’s easy to cover and uncover with your thumb.
Insert and Secure the Downstem: Fit it into its hole and use rubber grommets or sealant to prevent any air leaks.
Check the Seals: Ensure all holes are airtight by lightly filling with smoke and checking for leaks.
Add Water: Pour enough water so the downstem is submerged by about an inch—adjust based on preference.
Take it for a Spin: Load your bowl, light it up, and take a hit to see how it functions. Adjust as needed.
Keep It Clean: Change the water frequently and wipe down the inside to prevent mold and prolong its life.
Get Creative: Use markers, paint, or additional carvings to decorate your pumpkin bong. Make it a centerpiece for your autumn gatherings!
Refresh as Needed: Pumpkins don’t last forever, especially when carved. You might need to make a new one if you plan to use it throughout the season.
Check out also: How To Stop Greening Out: Tips For Managing Overconsumption!
Making a pumpkin bong is not just about enjoying a good smoke; it’s about embracing the festive spirit of the season. It’s a great way to combine creativity with functionality, and it makes for a great party feature or a cozy night in. Just remember to handle the carving safely, keep your setup clean, and most importantly, have fun with your creation. Enjoy your festive, homemade pumpkin bong and happy toking this fall!