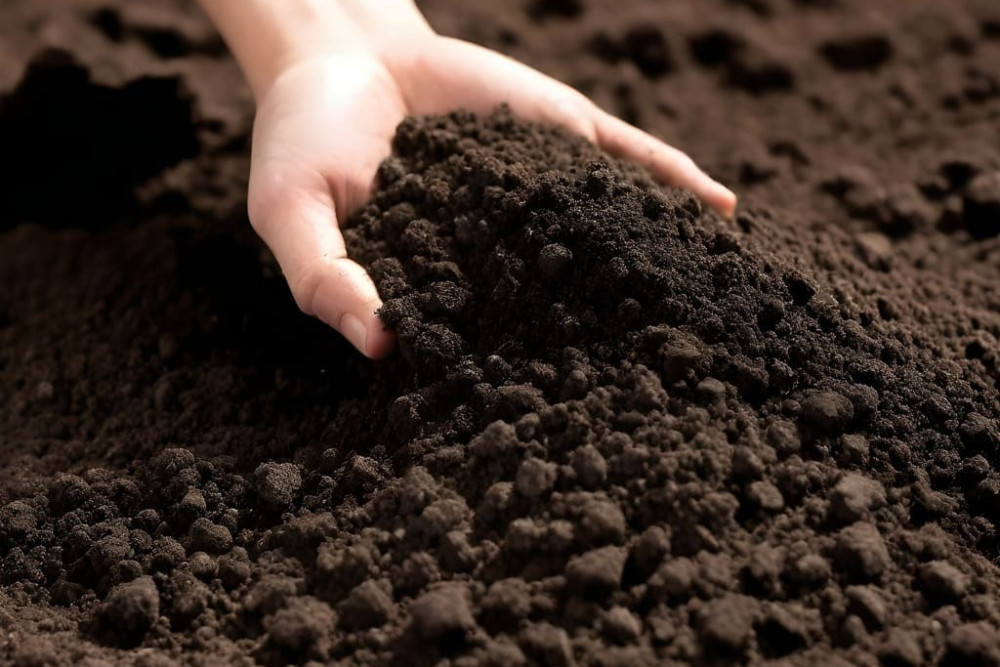
Are you ready to supercharge your garden with some homemade super soil? This powerhouse mix is perfect for those who want to nurture their plants with a rich, organic environment and say goodbye to the hassle of synthetic fertilizers.
Great for everything from vegetable gardens to cannabis cultivation, super soil lets you set the stage early and then sit back as your plants thrive. Let’s dive into how you can mix up a batch in your backyard.
Packed with Nutrients: It's got everything your plants crave, naturally.
Low Maintenance: Once your soil is prepped, there’s no need to fuss with additional feedings.
Time Investment: It takes a bit of upfront effort and time to cure, but the results are worth it.
To whip up your own super soil, you’re going to need a mix of organic materials that will break down over time, slowly releasing nutrients. Here’s your shopping list:
Base Soil: Start with a good quality organic potting soil.
Compost: For a diverse spread of essential nutrients.
Worm Castings: These are gold for adding beneficial microbes.
Bone Meal: It’s rich in phosphorus, perfect for supporting strong root development.
Blood Meal: A high-nitrogen additive, great for leafy growth.
Fish Meal: For a balanced boost of nitrogen, phosphorus, and potassium.
Bat Guano: Excellent for fast nutrient release.
Epsom Salts: Supplies magnesium and sulfur.
Dolomite Lime: Helps balance the pH and adds a punch of calcium and magnesium.
Azomite: A mineral-packed additive for trace elements.
Perlite: Not just for aeration but also for improving drainage.
Find the premium cannabis products at Marketweed shop!
Mix your base soil with plenty of compost and worm castings on a large tarp or in a big container. You want a homogeneous mixture where every scoop gives you a bit of everything.
Gradually add your bone meal, blood meal, fish meal, and bat guano. It’s a good idea to wear a mask during this step because these materials can be dusty and potent.
Add perlite for drainage, dolomite lime to stabilize pH, and azomite for those trace minerals. Don’t forget the Epsom salts for magnesium and sulfur.
Lightly moisten your mix so it’s damp but not soggy. This kick-starts the microbial activity. Cover the pile with a tarp and let it cure for about a month or two. This wait time allows the soil to fully integrate and stabilize all the rich nutrients.
Before you plant, test the pH to make sure it’s between 6.3 and 6.8. Adjust if necessary by adding more dolomite lime to increase pH, or garden sulfur to decrease it.
Check out also: How To Make THC Oil At Home!
Test It Out: If you’re new to super soil, try it with a couple of plants and see how they respond. It’s potent stuff, so observe how much faster and healthier your plants grow.
Keep It Fresh: Store any unused super soil in a cool, dry place. A covered bin works well to keep the mix usable for next season.
Watch and Learn: Every garden is different. Use what you learn this season to tweak your super soil recipe for next year.
Making your own super soil might seem like a bit of alchemy, but it’s really about mixing the right ingredients to create a nutrient-rich, self-sustaining environment for your plants. It requires some elbow grease and patience, but the payoff is a garden that’s more lush, more productive, and easier to manage. So, roll up your sleeves and get mixing—your plants will thank you!